DIY
How to Hang Wall Art with a Hanging Wire
Maybe it was a gift, an impulse buy at a flea market, or a purchase made with intent and purpose but the bottom line is, now that you have wall art, you need to know how to hang it. Hanging picture frames doesn't need to be complicated. With a few tools that you likely have around the house already and a few tips that we'll provide here, you'll have that picture frame displayed proudly on a wall in your home in no time.
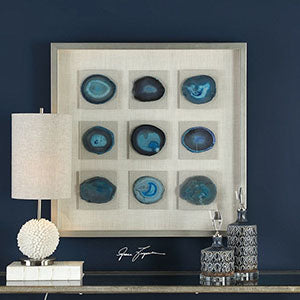
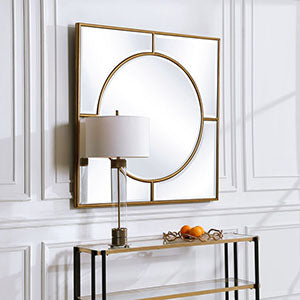
Add style to any room by hanging picture frames and artwork.
Step 1 – Deciding where to hang the picture on a wall?
First, where to put it? Maybe you already have the perfect spot in mind, but here are a few things to consider. Try to find a spot proportional to the art with good space around it to give it the proper prominence. Art lovers may have several pieces up already, but crowding too many onto a single wall or into a single room can make your room look too busy, thus not achieving the contemplative benefits of art. Likewise, a large wall with a small piece will just look off to your guests and can be distracting. You will also want to ensure the art complements the room. For instance, a western-style picture of horses and cowboys may not look right in a room with more contemporary fixtures.
Step 2 – What tools do you need to hang a picture frame with a wire?
Second, let's get your tools together. You likely only need a few items that either you already have on hand or can easily find at most neighborhood hardware stores or perhaps even corner drug stores.
Crucial items:
- Picture hanger hardware and wire
- Tape measure
- Pencil
- Hammer
- Nail
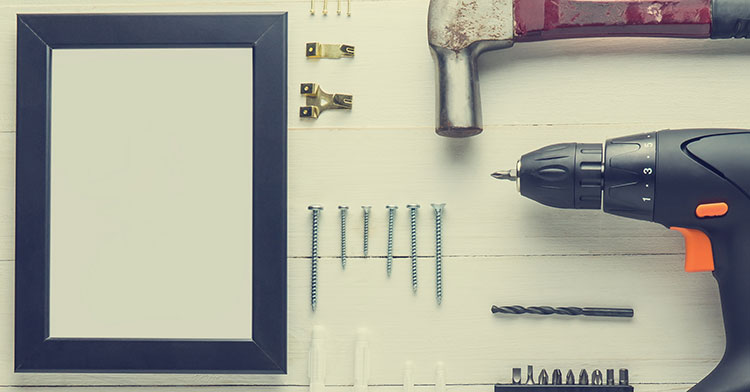
Some of the basic tools you will need.
Other things you might need:
- A step ladder for higher walls or shorter people
- A level (unless you trust your eye)
Step 3 – How to measure frame to wire distance.
The third step is to determine the spot on the wall. When the art hangs, the wire will be pulled taut so you need to mimic that by pulling the wire up as far as it will go (don't force it though) and then measuring the distance. A friend that can measure while you pull the wire would be helpful here, but I was able to do it by myself so I bet you can too.
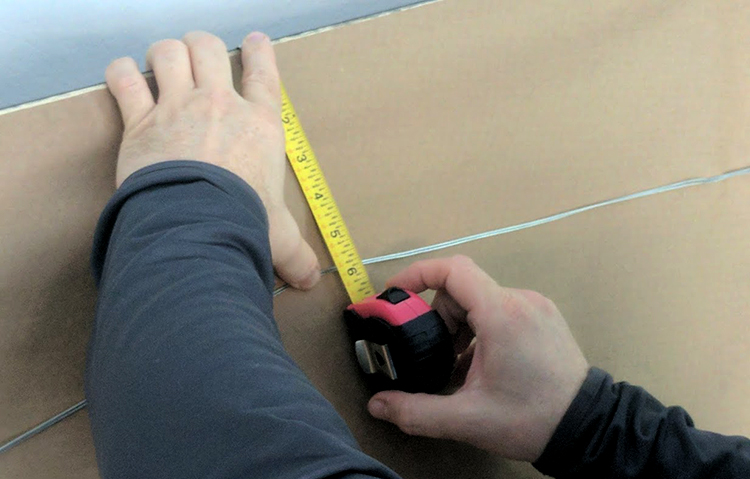
Measure from the top of the frame to the taut wire.
Step 4 - Using frame to wire distance to know where to place nail on wall.
Next, figure out where on the wall to put the nail in. Decide where you want the center of the TOP of the frame to be, and then mark that spot with a pencil.

Mark where on the wall you want the art to be.
Measure from that spot down to the measurement you took in step 3 which is the distance from the top of the frame to where the wire will hang. Make a mark there. This is where the nail will go.
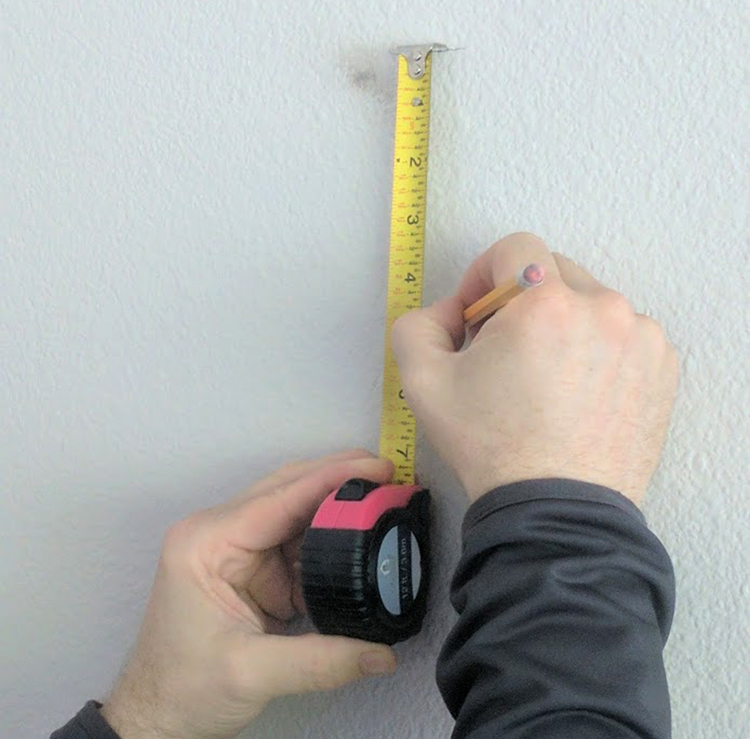
Measure from the mark on the wall the distance of the wire to the frame.
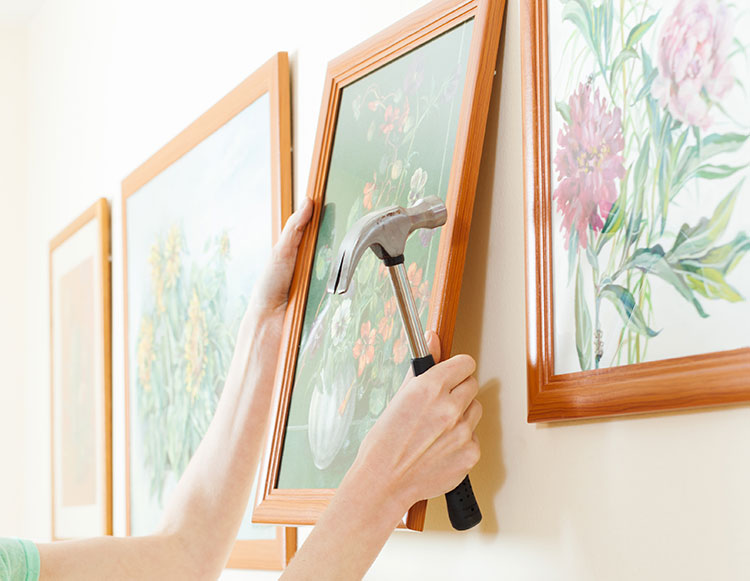
Step 5 – Hanging the frame.
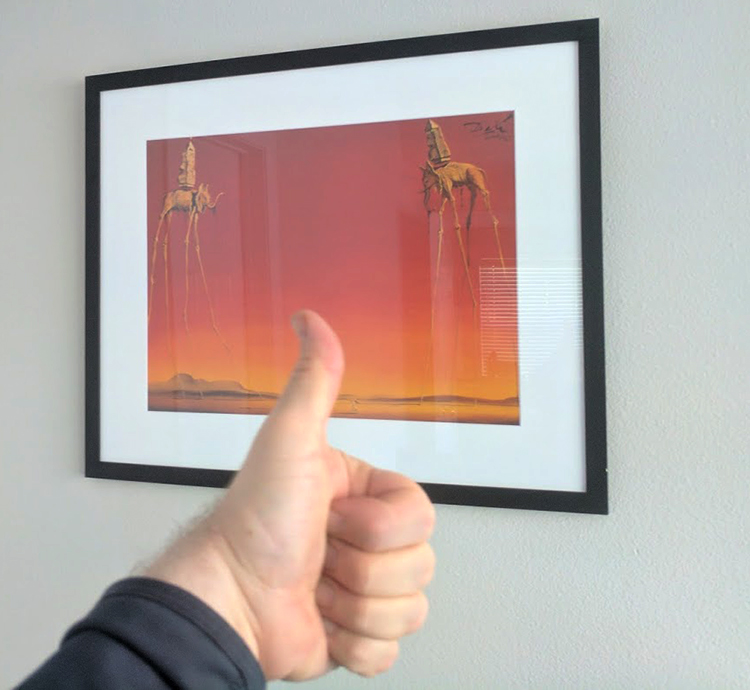
The fifth step is to hammer then nail in at that spot and then carefully hang the art by its wire on it. Move to the left or right until it looks centered. If you have a level, place it on top of the art and ensure the bubble is between the two lines for a perfect hang. And voila, you're done.
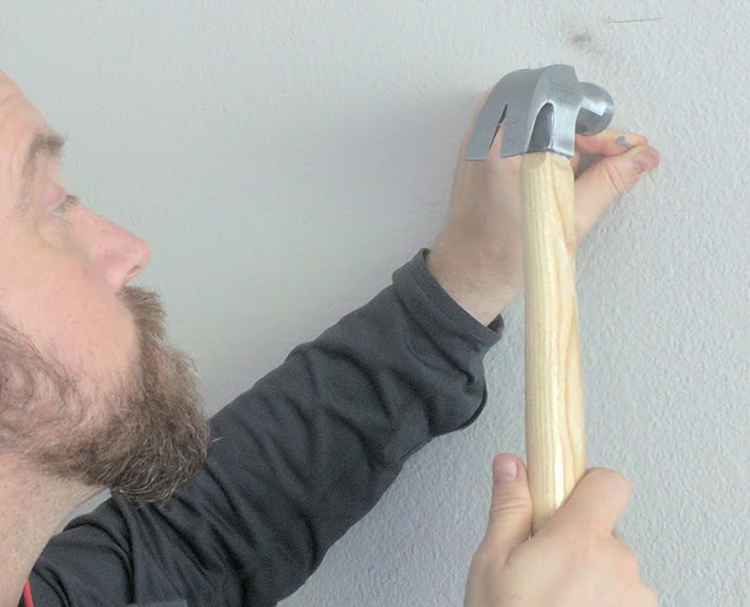
Hammer in the nail, hang and double check frame is level.
Great job! Now, if you don't have some art already but are now inspired to get some up on your walls, check out our wide selection of wall décor and artwork that includes a little something for every taste.