Lighting
The Quick and Easy Way to Replace and Install a Ceiling Light Fixture
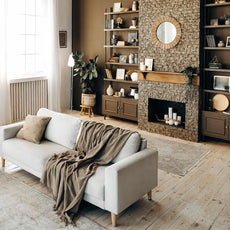
Give your home a lighting makeover. The right light can make or break the overall look and feel of a room. If your home's lighting is out of date, not your style, or something you just have become bored with, it's time to replace your old fixtures with something fresh and new. Changing out the lighting fixtures is a great way to give any room a quick and easy remodel. With so many designs and styles to choose from, you don't need to live with lights you don't love. Most new light fixtures come complete with mounting hardware, so replacing an existing light is easier than you think.

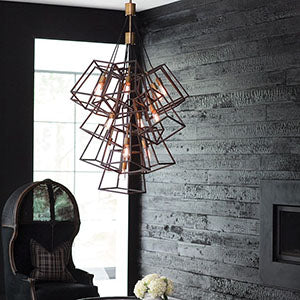
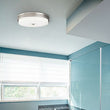
A new lighting fixture gives a room an instant makeover.
Remove the Old Light
The first step in replacing your ceiling light is to turn off the electricity to the room at your main circuit breaker panel to ensure the supply wires are no longer "hot." It's a good idea to test that you cut the power to the correct circuit by turning the light switch on and off before removing the existing light fixture. Unscrew and remove the canopy of the old fixture until the junction box and wire connections are visible. Remove the wire nuts and separate the supply wires from the fixture's wires. Check to make sure the supply wires are free of fraying, breakage, or damage before proceeding. Leave the wires exposed in order to connect them to the new fixture.
Check the Junction Box
If you are installing a pendant, chandelier, or any style lighting fixture that hangs from a chain, cable, or stem, you will first need to determine the height at which you will need the light to hang. Select the combination of stems needed or if using a chain or cord, make sure they are trimmed to the correct length. Prop up the new fixture on the paint tray of your stepladder while you feed the wires through the stem or chain and up to the junction box. If installing a flush mount or semi-flush mount fixture, you will not need to do this step. Guide the light's wires through the canopy or ceiling pan and the hanging bracket. Strip about a 1/2" of the insulation from both the fixture wires and the supply wires.
Connect the Wires
The wires on the new lighting fixture will be color coded. Match up the hot black-sheathed fixture wire to the black supply wire. Twist the stripped, bare ends together and secure the connection with a wire nut. Repeat this step by matching and connecting the neutral white wires. Most fixtures will also have a bare copper or green-sheathed ground wire. Twist this wire onto to the supply's bare copper wire or green grounding screw. Carefully tuck all the wires into the junction box. Test to see that the connections are working by putting a bulb in the lighting fixture, turning the circuit breaker back on, and flipping the switch to see if the light comes on. If it does, the wiring connections are working. You can switch it off and turn the circuit breaker back off before continuing with the final installation step.

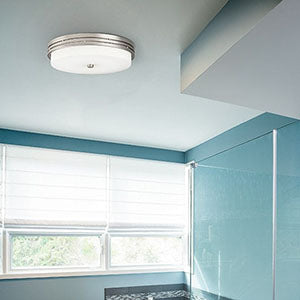
A DIYer can easily install a new ceiling light.
Secure the Fixture to the Ceiling
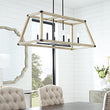
Attach the ceiling mounting plate to the mounting strap or support rods using the supplied mounting screws. Connect the chain or mounting stem to the canopy. Check to make sure the fixture is hanging at the proper height and that the canopy is securely fastened. If the chain is too long, you can remove more links. Slide the canopy or ceiling pan over the mounting hardware and tighten the locknut to secure it in place. Install bulbs into your fixture, making sure you use the correct wattage and type recommended in the instruction manual that came with the light. Turn the electricity back on and enjoy how your updated fixture brings new life to your room.

Use the correct bulbs recommended for your lighting fixture.