DIY
A DIYer Adds a Shower to a Half Bath
About our renovator: DIYer, MA, 35-45.
What Factors Led Up To Your Renovations?
The home we bought had one full bath upstairs and a half bath downstairs. As a family of four with two fast growing kids, we understood the benefits that would come with having two showers. Less fighting over bathroom space is a win for all.
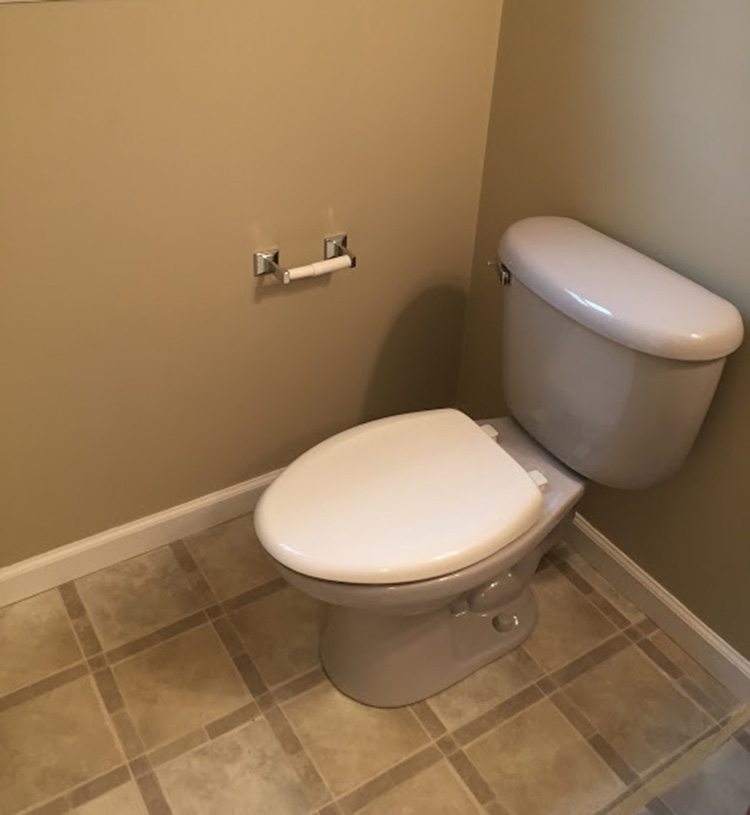
Also, even though our home is new construction, the materials installed were most likely the cheapest possible option. They're functional, but not at all pretty. (Notice the purple toilet.)
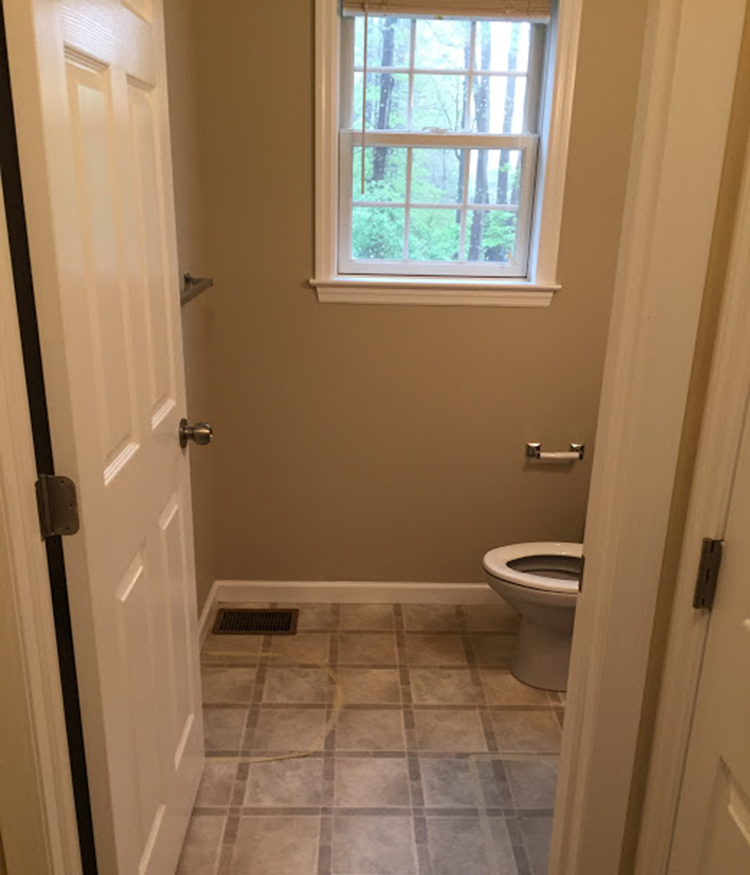
Entryway to the half bath before renovation.
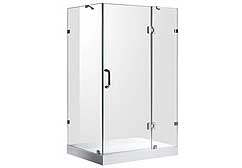
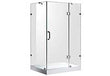
It seemed possible that a small shower could be added to the relatively large half bath by moving the vanity to the opposite wall. We believed we could do this without having to move any walls or modify the door. When we found an attractive, solid 32"x32" glass shower enclosure that would fit in the corner of the bathroom, we knew we were in business. By using a see-through shower enclosure, the bathroom would still feel open even though we would be taking up more space.

Entryway to the half bath after renovation.
Did You Hire a Contractor or Did You Renovate Yourself?
At first we tried to find a contractor to take on the whole project, but we weren’t able to find one available or willing to take on such a small job. So, we hired a plumbing and electrical contractor to handle the most skilled parts. We did this mainly because getting plumbing and electrical correct would determine the renovation passing the local rough and finished building inspections. We used locally known contractors that we have used for several other projects. The demolition, minor stud work, wall board, wall and floor tile, painting, and shower enclosure installation we did ourselves.

Half bathroom before renovations: linoleum floors, no shower, purple toilet, particle board vanity.
How Did You Go About Setting a Budget and Did You Go Over It?
The budget was built from the bottom up as we selected fixtures, tile, etc. and got estimates from the plumber and electrician. Our initial estimate was pretty close. This wasn’t too surprising given the relative detail of our initial estimate and the ability to search the internet for pricing.
What Was the Biggest Unforeseen Renovation Obstacle?
Having the right tools. We didn’t realize how important it was to have all the right tools ready to go, especially for a tiling project. There is so much prep work that goes into a renovation. Issues came up because we didn’t understand just how much preparation and research needed to go into starting a tiling job. Having the right tools, doing thorough project research, and learning about common problems that come up are essential to success.

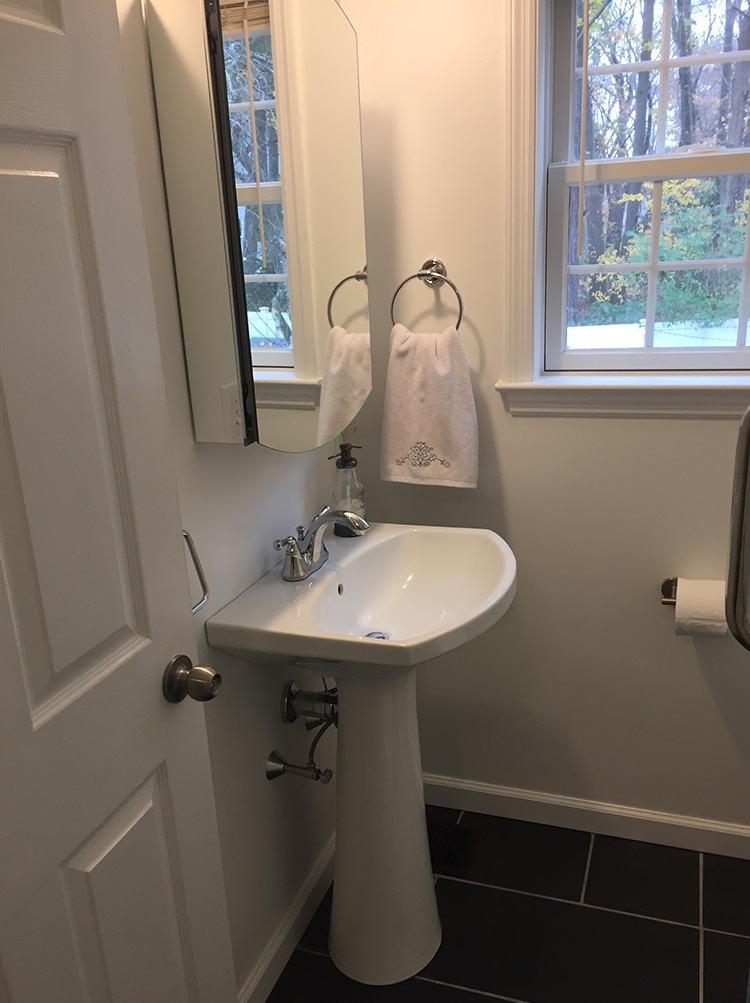
Half bathroom after renovations: slate tile, pedestal sink, shower enclosure & space-saving toilet.
What Was the Most Interesting Skill you Learned During the Experience?
We learned a lot about tiling. It’s all about back buttering and a few other tricks of the trade:
-
Know how to work with the material you are using. There are specific tools based on material type. We used slate tile. Stone tile can chip easily and because slate is expensive, you really want to know what you are doing before you get started.
There are a lot of little tricks we found by watching videos made by contractors online. Instead of cutting stone tile on a tile saw all the way to the end, which causes chipping due to the weight of the tile, stop when you are an inch away from the end. Take the tile off the saw and then start cutting from the outside in, so that if it does chip, it’s on the inside and not on the end where it will be more noticeable.
-
The other big skill that was worth taking time to learn was getting the right consistency for the tile mortar. If it is too wet then the tile won’t be secure to the subflooring, if it is too dry or too thick then it will be hard to make the tile even because you can’t easily push the tile down. It helped to watch videos to see how the professionals mixed to the correct consistency. It needs to be similar to the consistency of toothpaste, or maybe a little thicker.
-
Also, an important tip for tiling, the trowel that you use to apply mortar to the subflooring has different sized notches on them. You need to use the right notch size for the right size of tile you are using to create an appropriate spacing gap. The notches also need to be applied in a uniform position so it’s all going parallel to the tile in one direction. When you’re finished it looks like hills going up and down with valleys where there is no mortar. The purpose of this is so that when you put the tile down and shift the tile back and forth, the ridges fill into the valley space creating a really strong vacuum. If you don’t apply the mortar correctly or just slap it onto spots, once the mortar dries, you’ll have air pockets and gaps from the subfloor making the tile uneven and unsupported. If you were to drop a hammer or any other heavy object on the tile, the tile would easily crack. This is also where back buttering comes into play. The main point of back buttering is to make sure you are covering all of the tile. Make mortar notches on the subfloor and then also mud the back of at least 80% of the tile.
-
Make sure you don’t get the mortar that dries really fast if you are new at tiling. You will need time to be able to adjust it. Once it’s stuck, it’s stuck, and there goes your expensive tile.
-
I also found it useful to practice the back buttering on a piece of plywood and some scrap tile to get the mortar consistency and technique just right before starting the real thing.
-
Make sure when you order your tile, you get enough for room for error, because errors happens.
If you Could Go Back and Give Your Pre-renovation Self Some Advice, What Would It Be?
Perfect the art of tile cutting, prepping mortar thickness, and back buttering.
Any Other Helpful Tips for Renovators?
Arm yourself with the right tools from the beginning. The professionals often tell you exactly what you’ll need at the beginning of their videos.
It’s also a benefit to know whether your room is perfectly square or not. If it isn’t perfectly square and you are tiling, it may mess with the aesthetics and make the tiles look slanted. In addition, the shower enclosure we purchased is a perfect 90-degree angle, if the room wasn’t perfectly square there would be gaps between where the shower and wall meet.
What’s Your Favorite Part About Your New Bathroom?
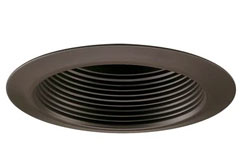
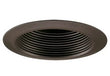
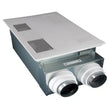
Besides the additional functioning shower, we love having a recessed light fixture over the shower that has a separate switch from our new ceiling vent fan. We love our new fan because it is so quiet. It’s a Panasonic.
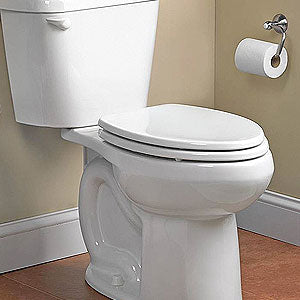
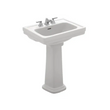
Anything would have been better than our purple toilet, but we are very pleased with the Toto Drake toilet. It not only saved some floor space for the relocated sink, but it's sleek and has low volume, yet powerful flushes. We got the slow-close toilet seat to go with it.